You need to create a Venue Page and be on the Venue Page in the customizer to perform the Venue Page Settings.
Note: When you create a Venue page, Please select the Venue Page template in the page attributes to get predefined Venue template.
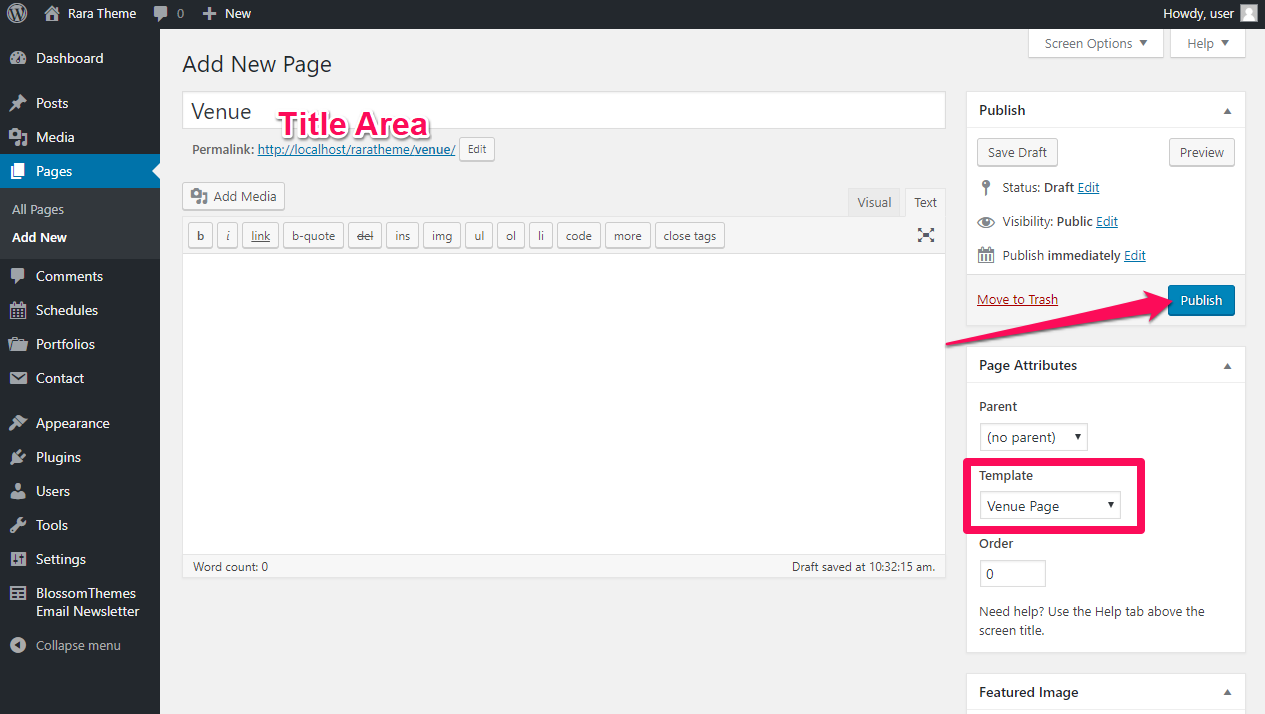
Please create a Venue Page following the below steps:
- Go to Pages> Add New
- Enter the Page Title and select the Template as Venue Page
- Click on Publish
How to Configure Venue Template Details?
Please follow the below steps to configure the Venue Template Details.
- Login to your WordPress Admin Panel
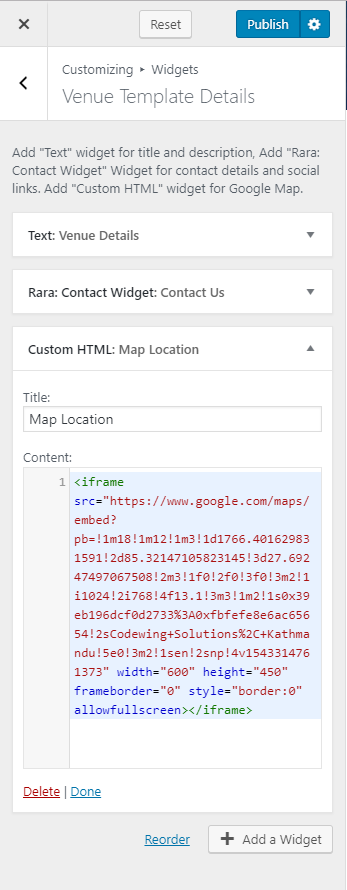
- Go to Customize> Venue Page Settings> Venue Template Details
- Click on Add a Widget & Select Text Widget
- Enter the Title and Description

- Again, Click on Add a Widget and select Rara: Contact Detail
- Enter the Title, Description, Phone, Email Label, Email, and Address.
- Enter Social Media Icon
- Click on Done
- Again, Click on Add a Widget
- Select Custom HTML
- Enter the Google Map iFrame Code to display the location
- Click on Publish
How to Configure Venue Template Sponsor Section?
Please follow the below steps to configure the venue template sponsor section.
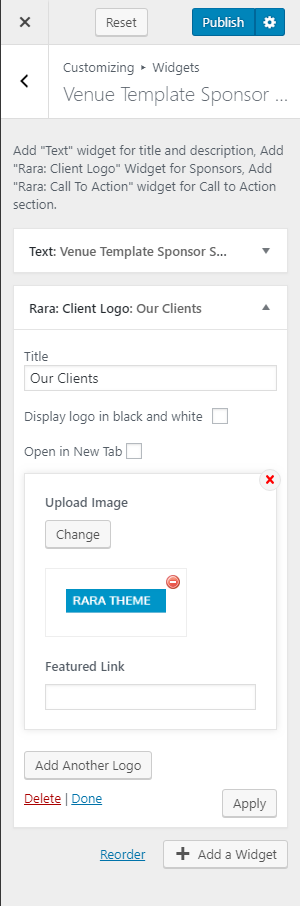
- Go to Appearance> Customize> Venue Page Settings> Venue Template Sponsor Section
- Click on Add a Widget
- Enter the Text and Description
- Click on Add a Widget
- Select Rara: Client Logo Widget to add your sponsor
- Enter the client name in Title Section
- Checkbox the Display logo in black and white to display the logo in Black and White
- Click on Add Another Logo to add more sponsors
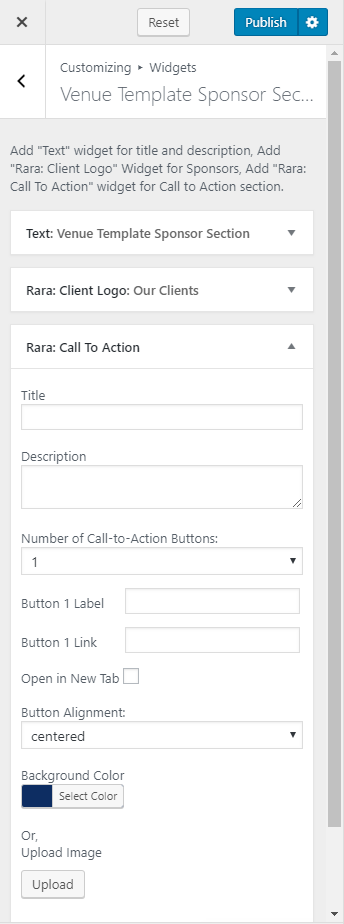
- Again, click on Add another Logo
- Select Rara: Call To Action
- Enter the Title and Description of the section
- Select the Number of Call-to-Action Buttons you want to display
- Enter the Button Label and Button Link
- Select the Button Alignment
- Select the Background Color or Upload Image for the section
- Click on Done
- Click on Publish
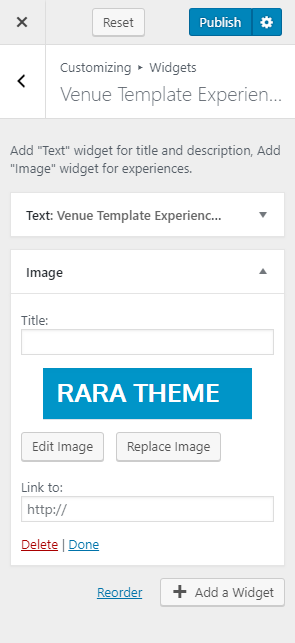
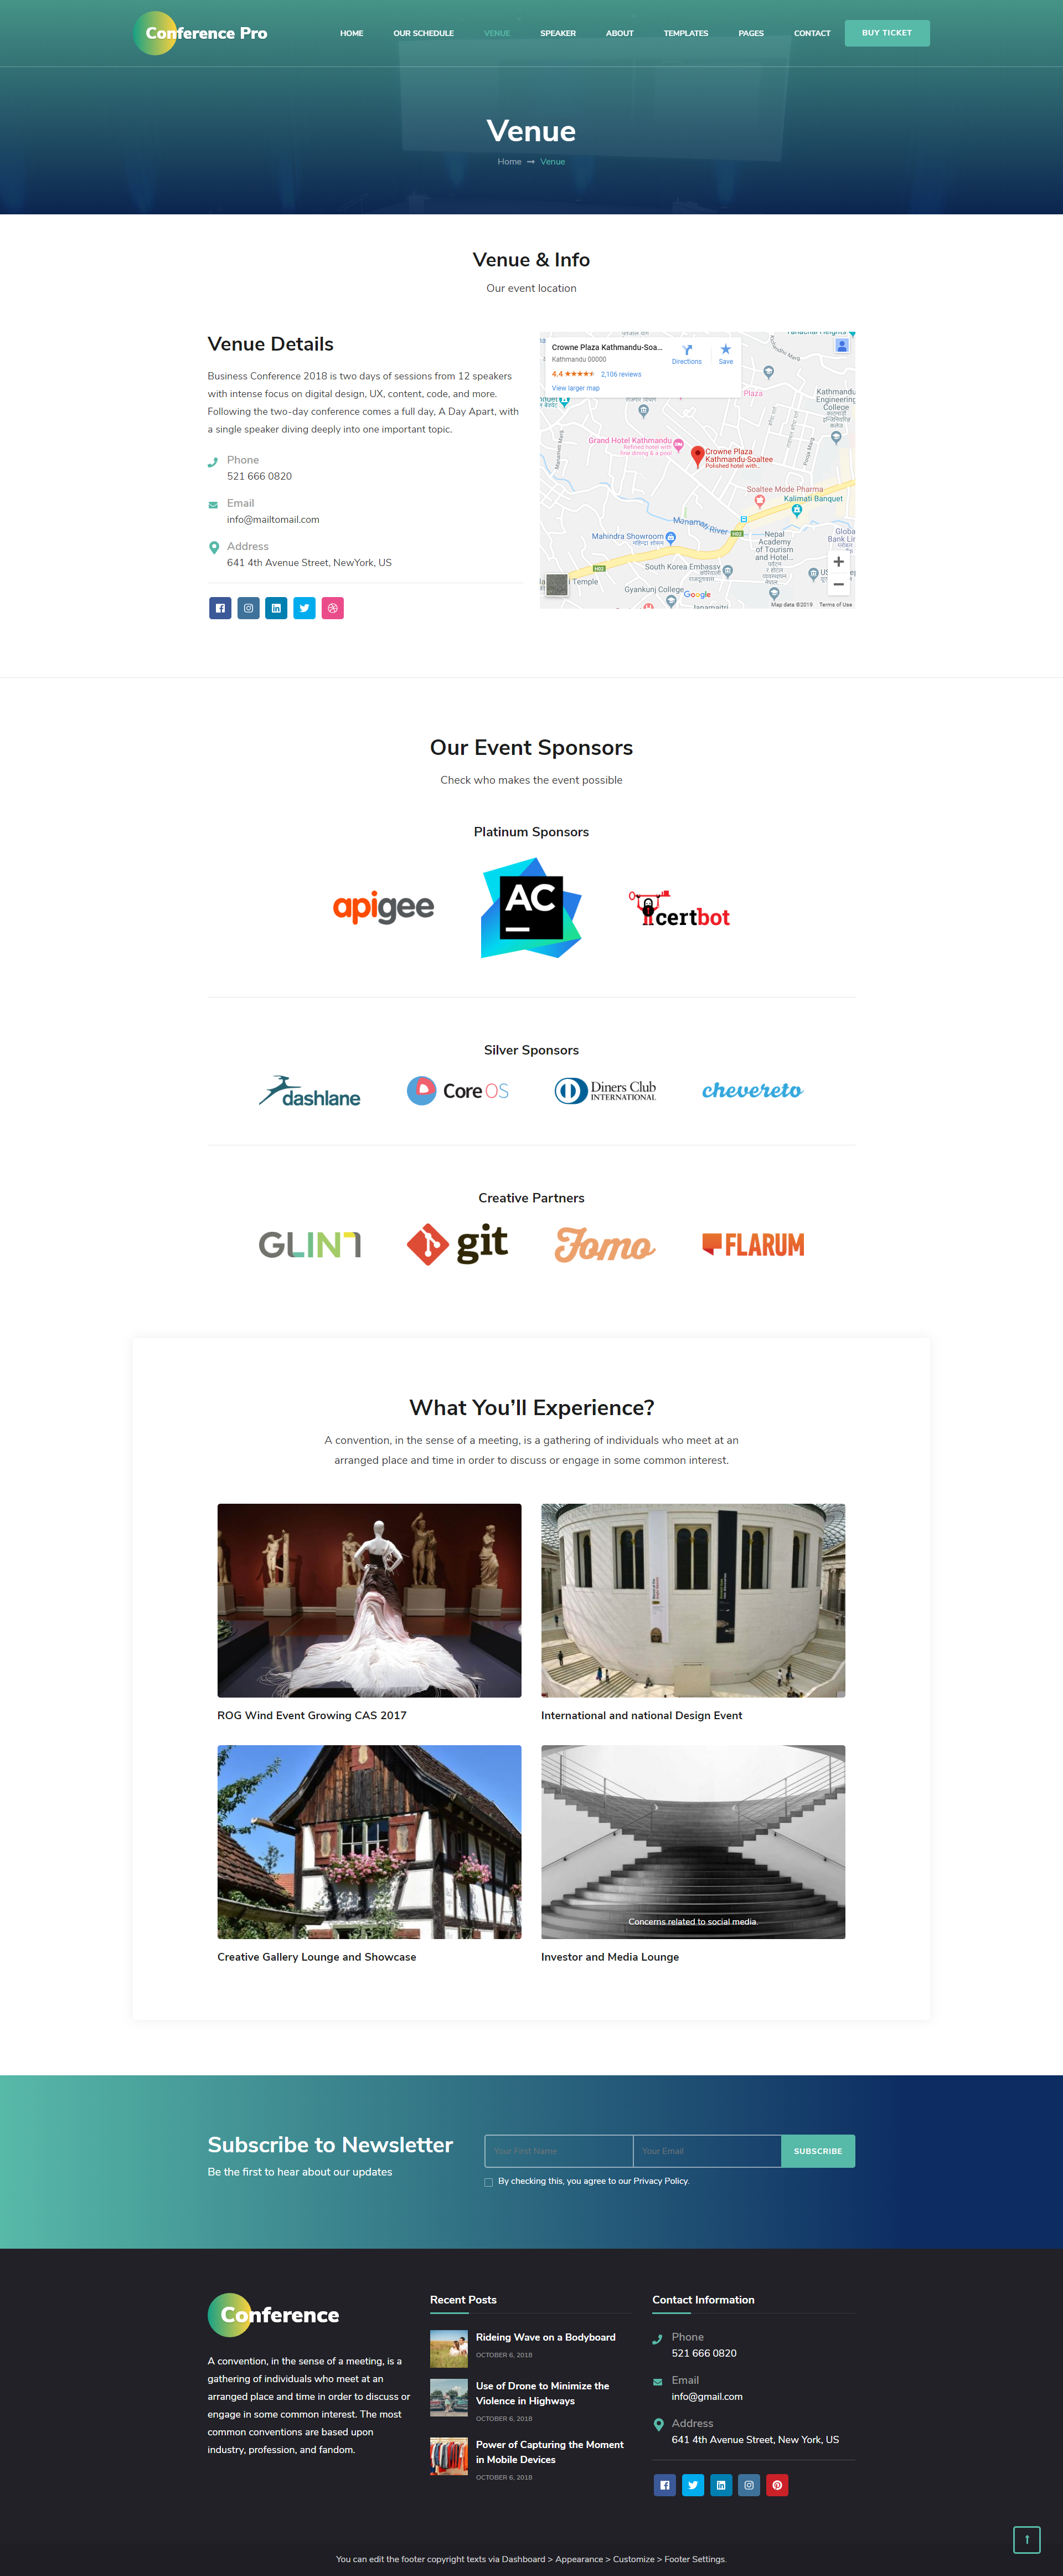
How to Configure Venue Template Experience Section?
Please follow the below steps to configure Venue Template Experience Section on the venue page
- Go to Appearance> Customize> Venue Page Settings> Venue Template Experience Section
- Click on Add a Widget
- Enter the Text and Description
- Click on Add a Widget
- Select the Image Widget to add experiences

- Enter the Title and Click on Add Image
- Upload the Image
- Enter the Link
- Click on Done
- Click on Publish