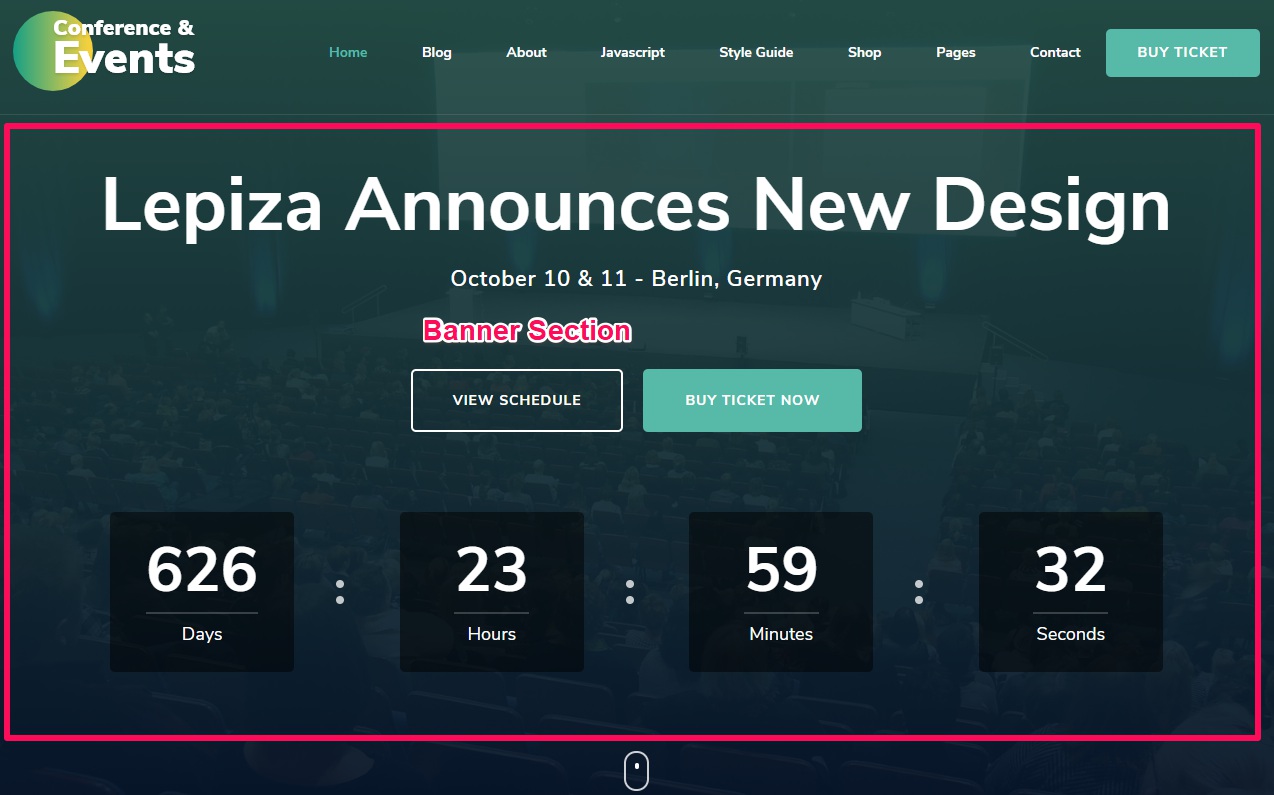
You can set up a static image, video, or a slider on your banner section. The banner will be displayed at the top of your website.
Please follow the below video tutorial or the following steps to configure Banner Section:
To set up your banner:
- Go to Appearance > Customize > Front Page Settings > Banner Section
- Choose either Banner as Slider, Static/Video CTA Banner, Static/Video Newsletter Banner or Disable Banner (if you do not want to display banner at all)
- Click on Publish
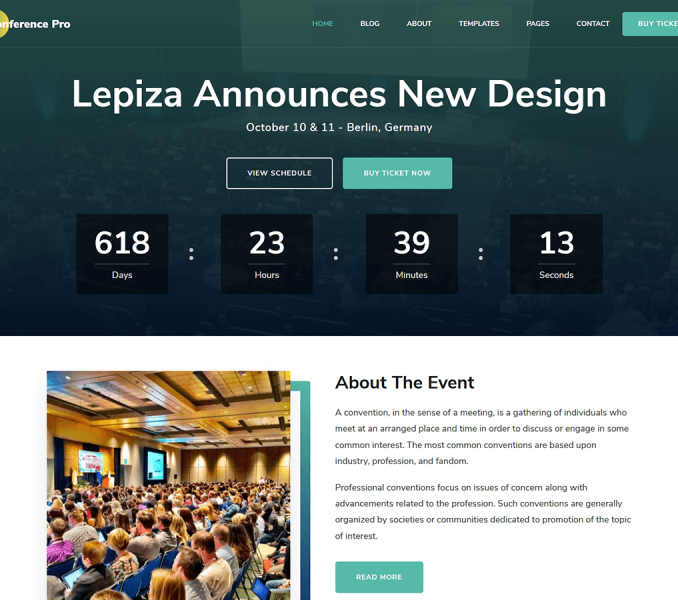
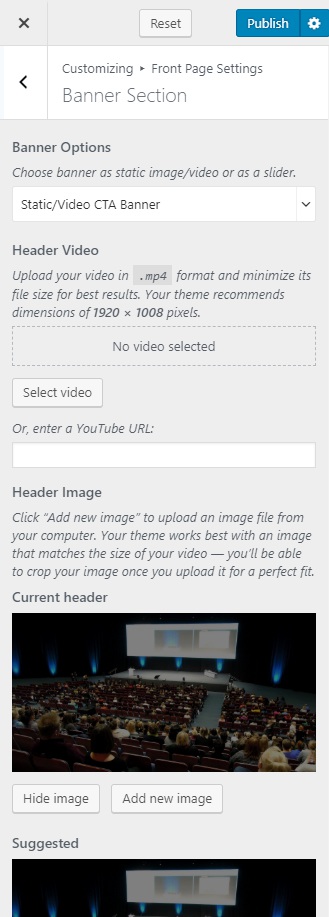
Static/Video CTA Banner
Please follow the below steps to add a Static/Video CTA Banner on the banner section of your website.
- Go to Appearance > Customize > Front Page Settings > Banner Section
- Choose Static/Video CTA Banner under Banner Options.
- Upload the Header Video or Enter the YouTube URL of the video. Also, you can upload images in the banner section by clicking on Add new image. If you add both video and image in the banner section at the same time, it will only show video by default.
- Enter the Event Title and Event Description
- Enter the Banner Label One and Banner Link One
- Enter the Banner Label Two and Banner Link Two
- Enable Show Upcoming Event to show the event timer. Blue is Enabled.
- Select the Upcoming Event Date
- Select the Upcoming Event Time
- Click on “Here” to select the time zone
- Click on Publish
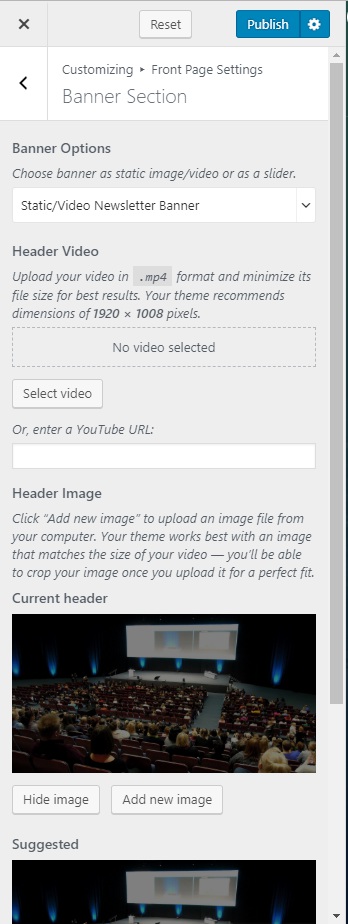
Static/Video Newsletter Banner
Please follow the below steps to add a Static/Video Newsletter Banner on the banner section of your website.
- Go to Appearance > Customize > Front Page Settings > Banner Section
- Choose Static/Video CTA Banner under Banner Options.
- Upload the Header Video or Enter the YouTube URL of the video. Also, you can upload images in the banner section by clicking on Add new image. If you add both video and image in the banner section at the same time, it will only show video by default.
- Enter the Banner Newsletter Shortcode. (Go to Dashboard> BlossomThemes Email Newsletter> Add New to create a Newsletter and copy its shortcode.)
- Click on Publish
Banner as Slider
- Go to Appearance > Customize > Front Page Settings > Banner Section
- Choose Banner as Slider
Slider Content
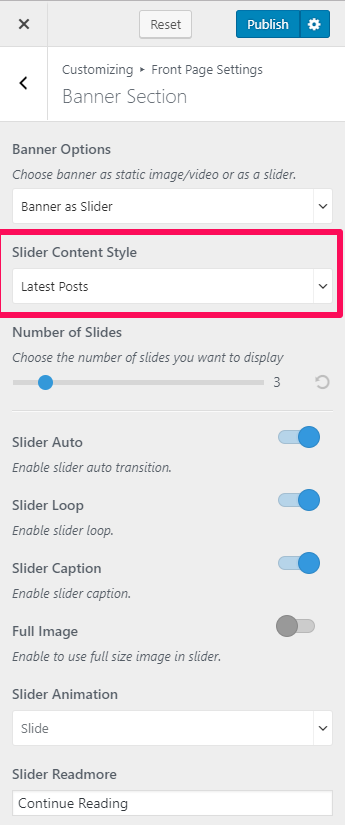
Slider using Latest Posts
- Go to Appearance > Customize > Front Page Settings > Banner Section> Banner as Slider
- Select Slider Content Style as Latest Posts
- Select the Number of Slides
- Enable Slider Auto transition. (Blue is Enabled)
- Enable Slider Loop. (Blue is Enabled)
- Enable Slider Caption. (Blue is Enabled)
- Enable Full-size image in Slider. (Blue is Enabled)
- Select Slider Animation
- Enter Slider Readmore label
- Click on Publish
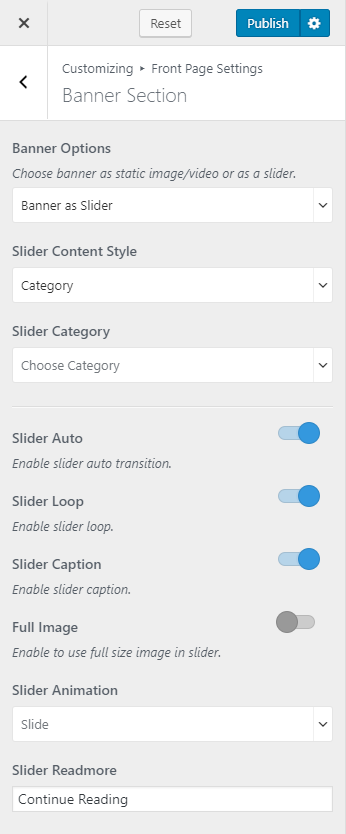
Slider using Category
- Go to Appearance > Customize > Front Page Settings > Banner Section> Banner as Slider
- Select Slider Content Style as Category
- Select the Slider Category
- Enable Slider Auto transition. (Blue is Enabled)
- Enable Slider Loop. (Blue is Enabled)
- Enable Slider Caption. (Blue is Enabled)
- Enable Full-size image in Slider. (Blue is Enabled)
- Select Slider Animation
- Enter Slider Readmore label
- Click on Publish
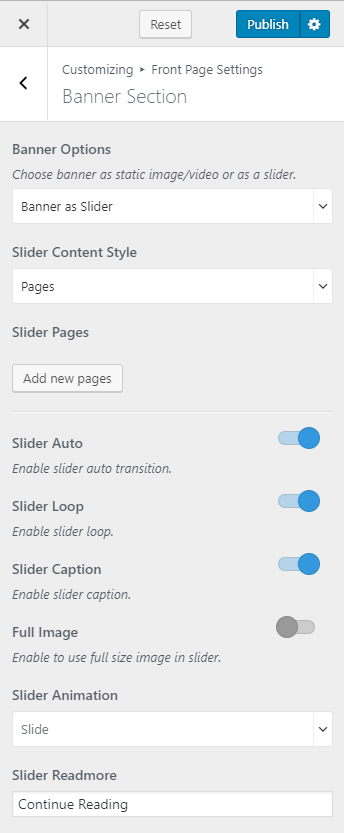
Slider using Pages
- Go to Appearance> Customize> Front Page Settings> Banner Section> Banner as Slider
- Select Slider Content Style as Pages
- Select the Slider Pages
- Enable Slider Auto transition. (Blue is Enabled)
- Enable Slider Loop. (Blue is Enabled)
- Enable Slider Caption. (Blue is Enabled)
- Enable Full-size image in Slider. (Blue is Enabled)
- Select Slider Animation
- Enter Slider Readmore label
- Click on Publish
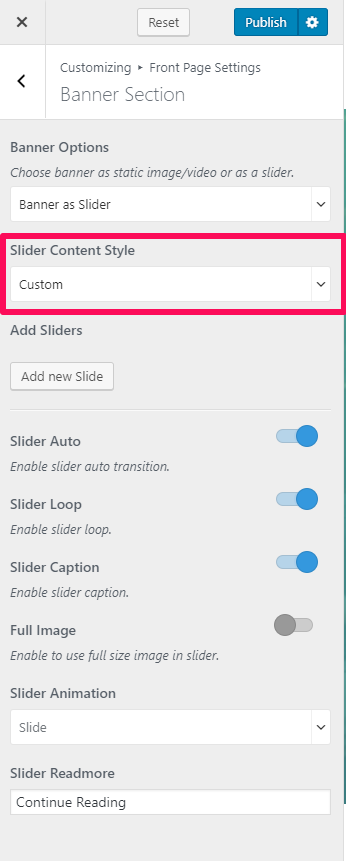
Custom Slider
- Go to Appearance > Customize > Front Page Settings > Banner Section> Banner as Slider
- Click on Add new Slide
- Click on Add Image to add the slider image
- Enter the Title, Subtitle, and Link
- Add more slider in a similar way if you wish to add more.
- Enable Slider Auto transition. (Blue is Enabled)
- Enable Slider Loop. (Blue is Enabled)
- Enable Slider Caption. (Blue is Enabled)
- Enable Full-size image in Slider. (Blue is Enabled)
- Select Slider Animation
- Enter Slider Readmore label
- Click on Publish