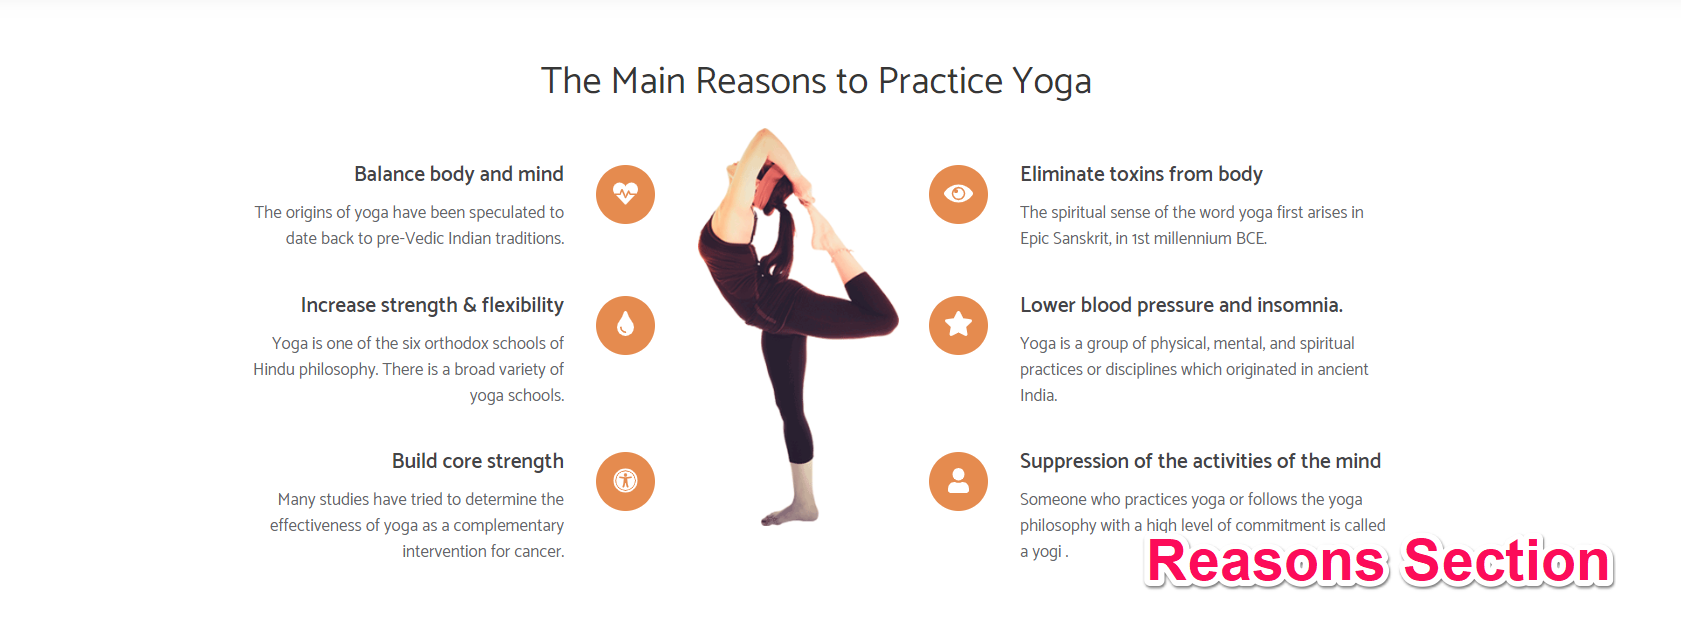
You can highlight your specialties or specific info using this section.
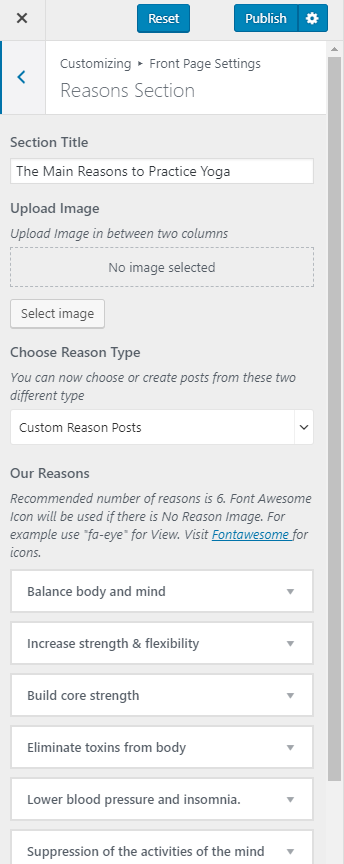
- Go to Appearance> Customize> Front Page Settings> Reasons Section.
- Enter section title.
- Upload image to be displayed between two columns of reasons.
- You can add reasons either by creating posts or adding custom reason posts.
- If you wish to add reasons by creating posts, choose Reason Posts under Choose Reason Type
- Choose the amount of excerpt character length.
- Choose the amount of tab you want to display in this section of the homepage. For best design layout, adding 6 info(reason) tabs is recommended.
- Choose the post to be displayed under Select Post one and choose an icon for the post under Choose Icon for Post one. Similarly, add and choose an icon for the rest of the posts. 6 posts are recommended and
- displayed by default.
- If you wish to add custom reason posts, choose Custom Reason Posts under Choose Reason Type.
- Click on Add new reason.
- Enter Reason Title and Description.
- You can either add an image by clicking on Add Image or use Font Awesome Icon for custom reason posts.
- Click on Add new reason again to create more custom reason posts. Recommended number of custom reason posts is six.
- Click Publish.