
Please follow the below video tutorial or the following steps to configure Contact Page
You can modify different sections of contact page here. You must be on the contact page to configure the sections. So, create a contact page first.
Note: The theme creates a contact page by default. You can use that page too.
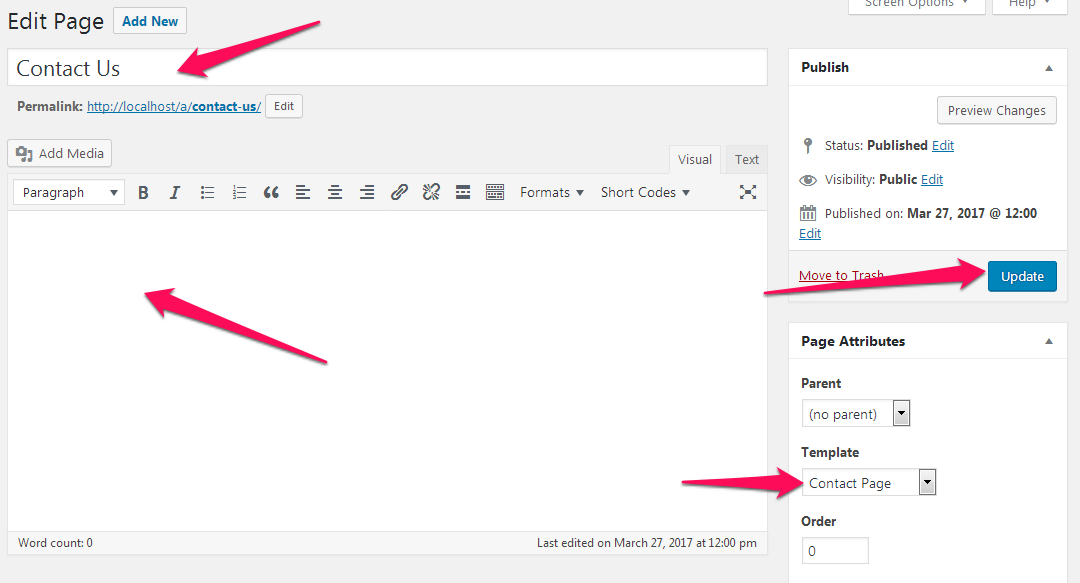
How to create a Contact Page?
- Go to Dashboard > Pages > Add New.
- Enter the Title for the Contact page.
- Enter the contents for the contact page in the content area.
- Enter the shortcode for contact form in the content area. The contact form will be displayed in the contact page.
- Select Featured Image
- Choose “Contact Page” Template
- Click on Publish/Update.
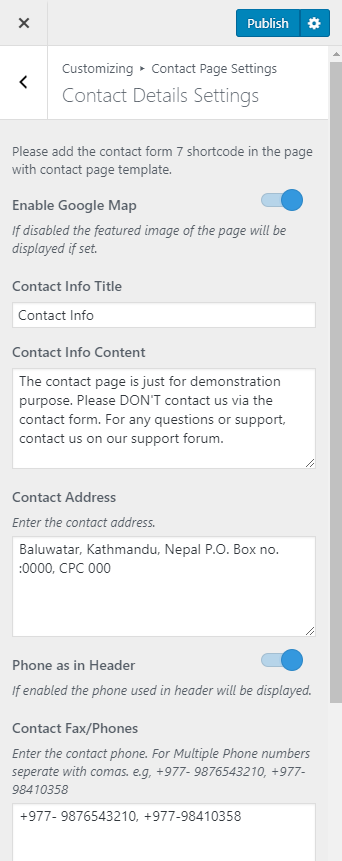
How to set Up Contact Details Settings?
You can add contact details here. You can add the phone number and address of your company. You can also add a contact form in the contact page here.
- Go to Appearance> Customize> Contact Page Settings >Contact Details Settings
- The contact form in the contact page will come from the page with “Contact Page” template. So, make sure you have added a shortcode for the contact form in the content area of the contact page.
- Enable/Disable Google Map on the contact page. If the map is disabled, the featured image of the contact page will be displayed.
- Enter Contact Info Title and Content.
- Enter Contact Address of your company
- Enable Phone as in Header to display the contact number of the header.
- Enter additional contact numbers/fax number. Make sure you separate the contact numbers with commas.
- Enter Contact Emails. Make sure you separate the Emails with commas.
- Click Publish
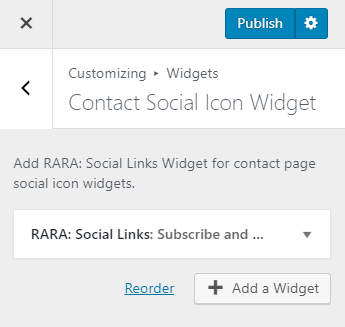
How to Set Up Contact Social Icon Widget?
You must be on the contact page to configure this setting. You can add social icons to the contact page here.
- Go to Appearance> Customize> Contact Page Settings > Contact Social Icon Widget
- Click on Add a Widget
- Add Rara: Social Links Widget
![]()
- Enter Title
- Check Open in New Tab to open social links in a new window.
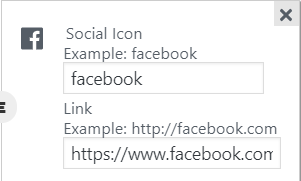
- Click on Add Social Icons to add your desired social icon
![]()
- Enter social icon and links
- Click Add Social Icon again to add more.
- Click Done
- Click Publish