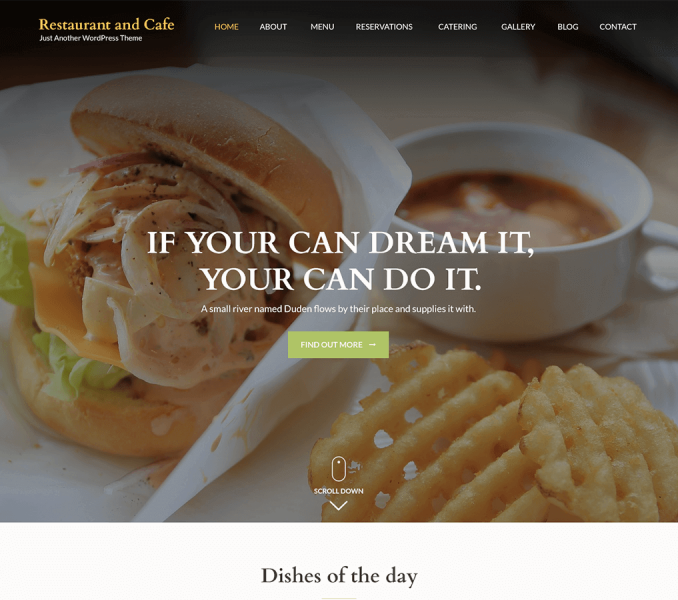
Go to Appearance > Customize > WooCommerce to customize different WooCommerce Settings
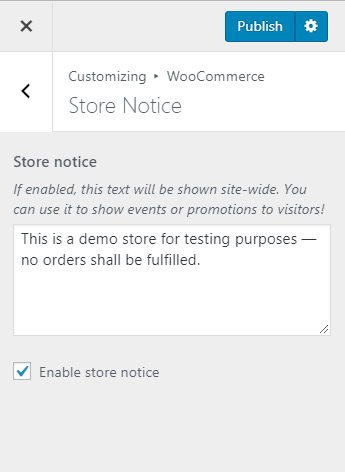
Store Notice
Please follow the below steps to configure Store Notice
- Go to Appearance > Customize > WooCommerce > Store Notice
- Enter Store Notice text
- Check Enable store notice to show store notice text site-wide. You can use it to show events or promotions to visitors.
- Click on Publish.
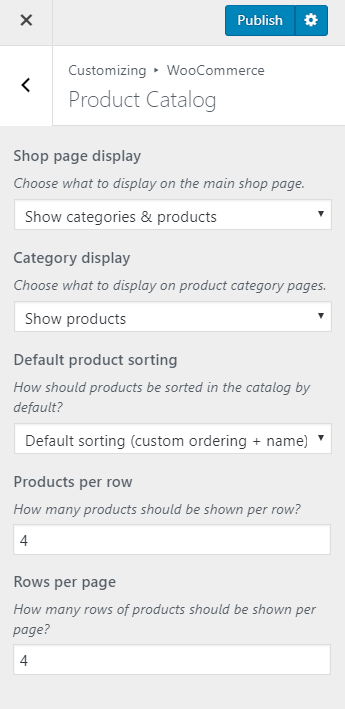
Product Catalog
Please follow the below steps to configure Product Catalog
- Go to Appearance > Customize > WooCommerce > Product Catalog
- Choose what to display in the main shop page from Shop page display section. Choose from the drop-down option
- Choose what to display on product category pages from Category display. Choose from the drop-down option
- Choose how products are sorted in the catalog from Default product sorting.
- Choose how many products are shown in the per row in Products per row.
- Choose how many rows of products should be shown per page in Rows per page.
- Click on Publish
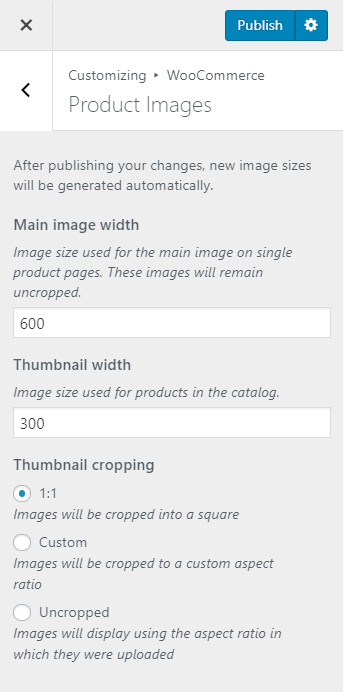
Product Images
Please follow the below steps to configure Product Images
- Go to Appearance > Customize > WooCommerce > Product Images
- Choose the Main image width
- Choose Thumbnail width
- Choose the desired Thumbnail cropping
- Click on Publish.
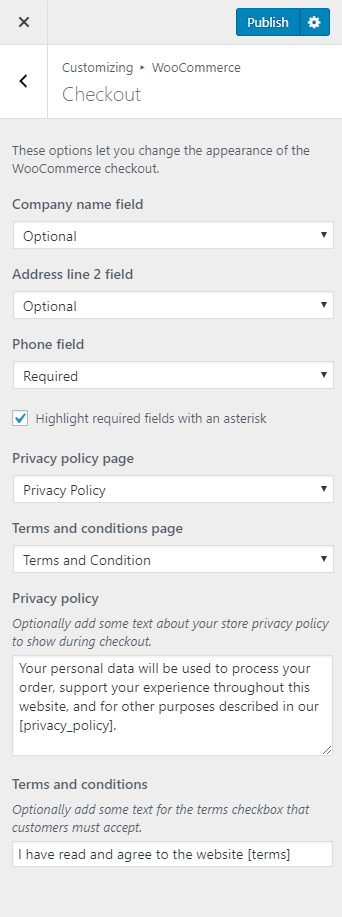
Checkout
Please follow the below steps to configure the Checkout section
- Go to Appearance > Customize > WooCommerce > Checkout
- Choose what to display in the Company name field from the drop-down button. (hidden, optional, required)
- Choose what to display in the Address line 2 field from the drop-down button. (hidden, optional, required)
- Choose what to display in the Phone field from the drop-down button. (hidden, optional, required)
- Check highlight required field with an asterisk.
- Select the “Privacy Policy” page in the Privacy policy page section
- Select the “Terms and Condition” page in the Terms and conditions page section
- Optionally add some text for the terms checkbox in Terms and condition section
- Click on Publish.