
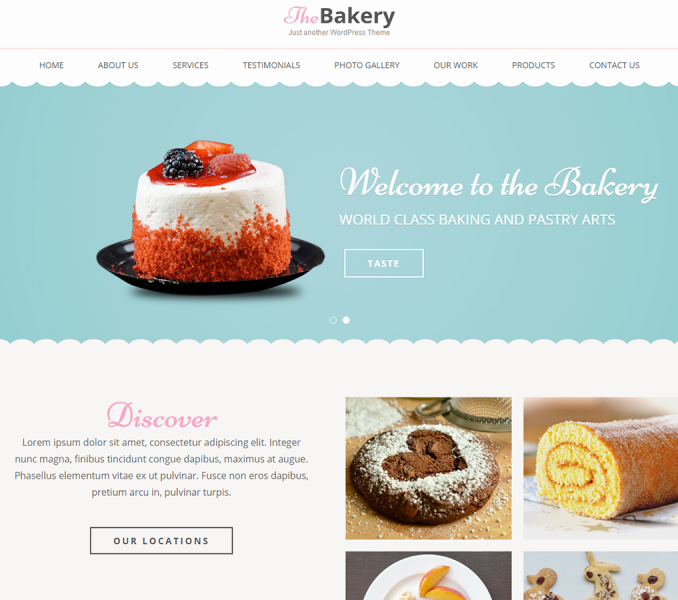
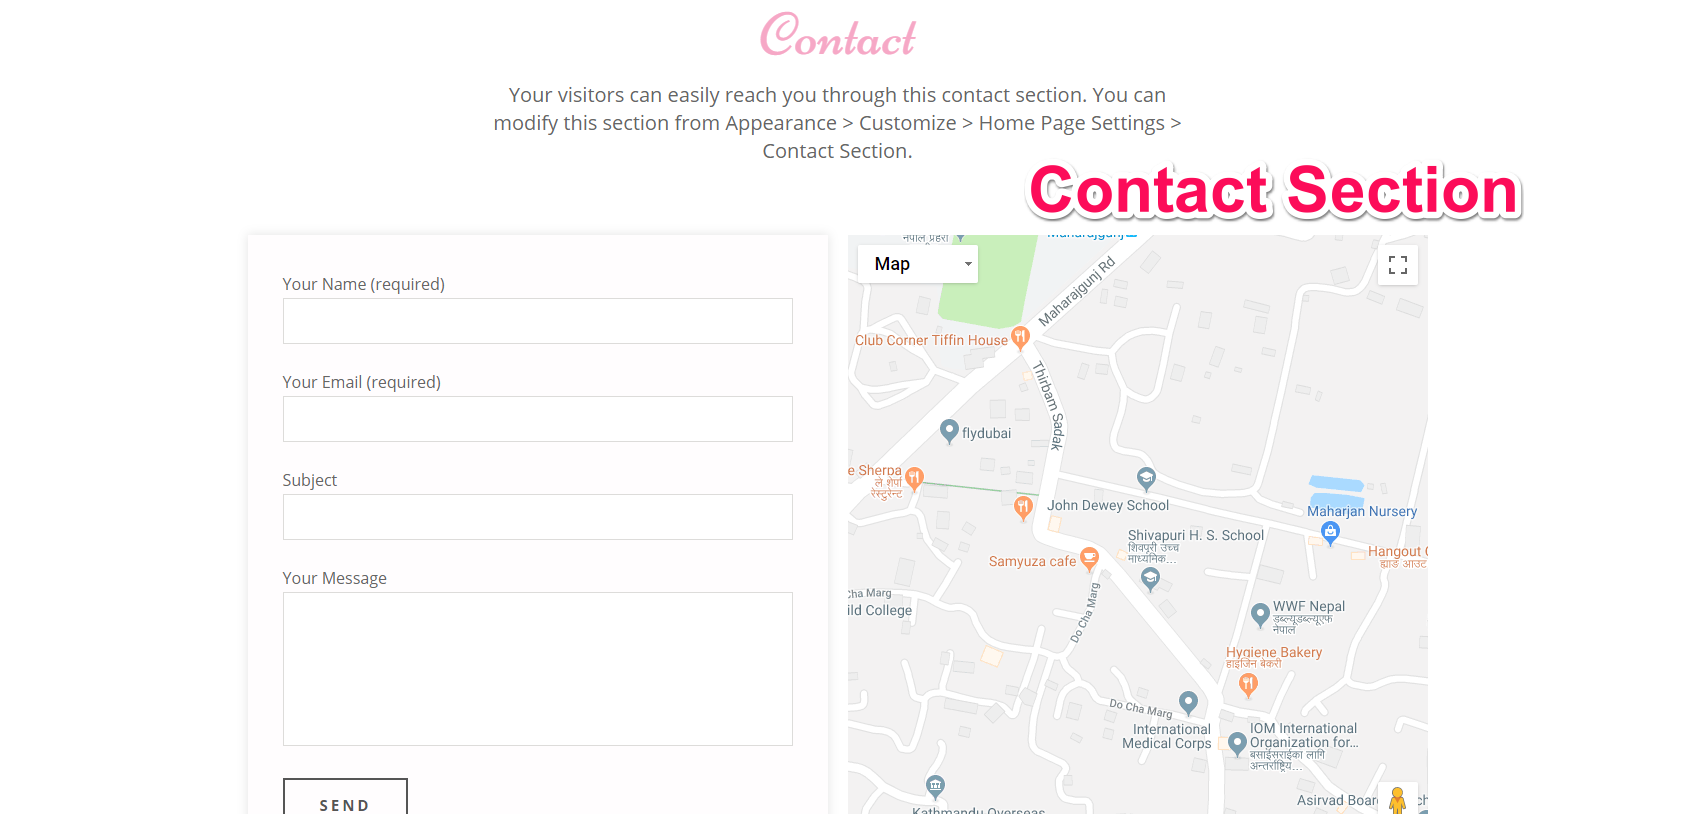
You can display the contact information, location of your business, and a contact form in this section. You can configure the map from Appearance >Customize>General Settings> Google Map Settings.
Please follow the below video tutorial or the following steps to configure Contact Section.
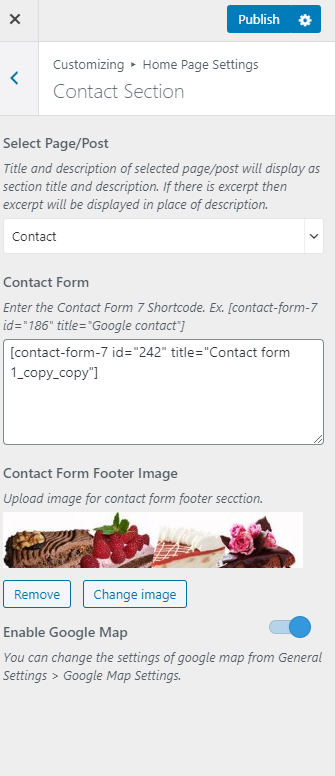
- Go to Appearance >Customize>Home Page Settings> Contact Section
- Select a page or post to display the title and description of the section.
- The Title and description of the selected page/post will display as section title and description of the section. If you don’t have a page, you can create a page.
- Enter the shortcode for the contact form you want to display in this section. You can find the shortcode of the contact form at Dashboard> Contact >Contact Forms. If you don’t have a
- contact form, follow these steps to add a contact form.
- Upload an image for the footer of this section.
- Enable/Disable Google Map. You can configure the map from General Settings> Google Map Settings. You can select a background image for this section if you disable map.
- Click Publish
You must install and activate the Contact Form 7 Plugin to add or configure contact forms. After you activate the plugin, follow these steps.
- Go to Contact> Add New Menu from the WordPress Dashboard
- Enter the name for the contact form in the title section
- Enter the Fields and Labels for contact form in Form tab
- In the Mail tab, you can configure the email address for receiving the emails from the contact form
- In the Messages tab, you can edit the various messages for the form.
- In the Additional Settings tab, you can add extra code to modify the contact form.
- Click Save to update the changes.
