
Note: This section is only visible if you have Woocommerce Plugin downloaded and activated.
Before you start with the section make sure you have done the following.
- Download and Activated Woocommerce Plugin by Woothemes
- Added Products
- Created a page with the default template with the title and content that needs to be displayed under the Restaurant Menu Section.
Adding a new Product
Once you have downloaded and activated the Woocommerce plugins, you get a Product option on your dashboard.
- Go to Products>Add new
- Enter the product name on the title. Describe the product on the Product Short description section
- Upload the Product images by clicking on Set Product Image and set Product gallery
- Enter Product details like Price etc on the Product Data section below the content section
- Click Publish
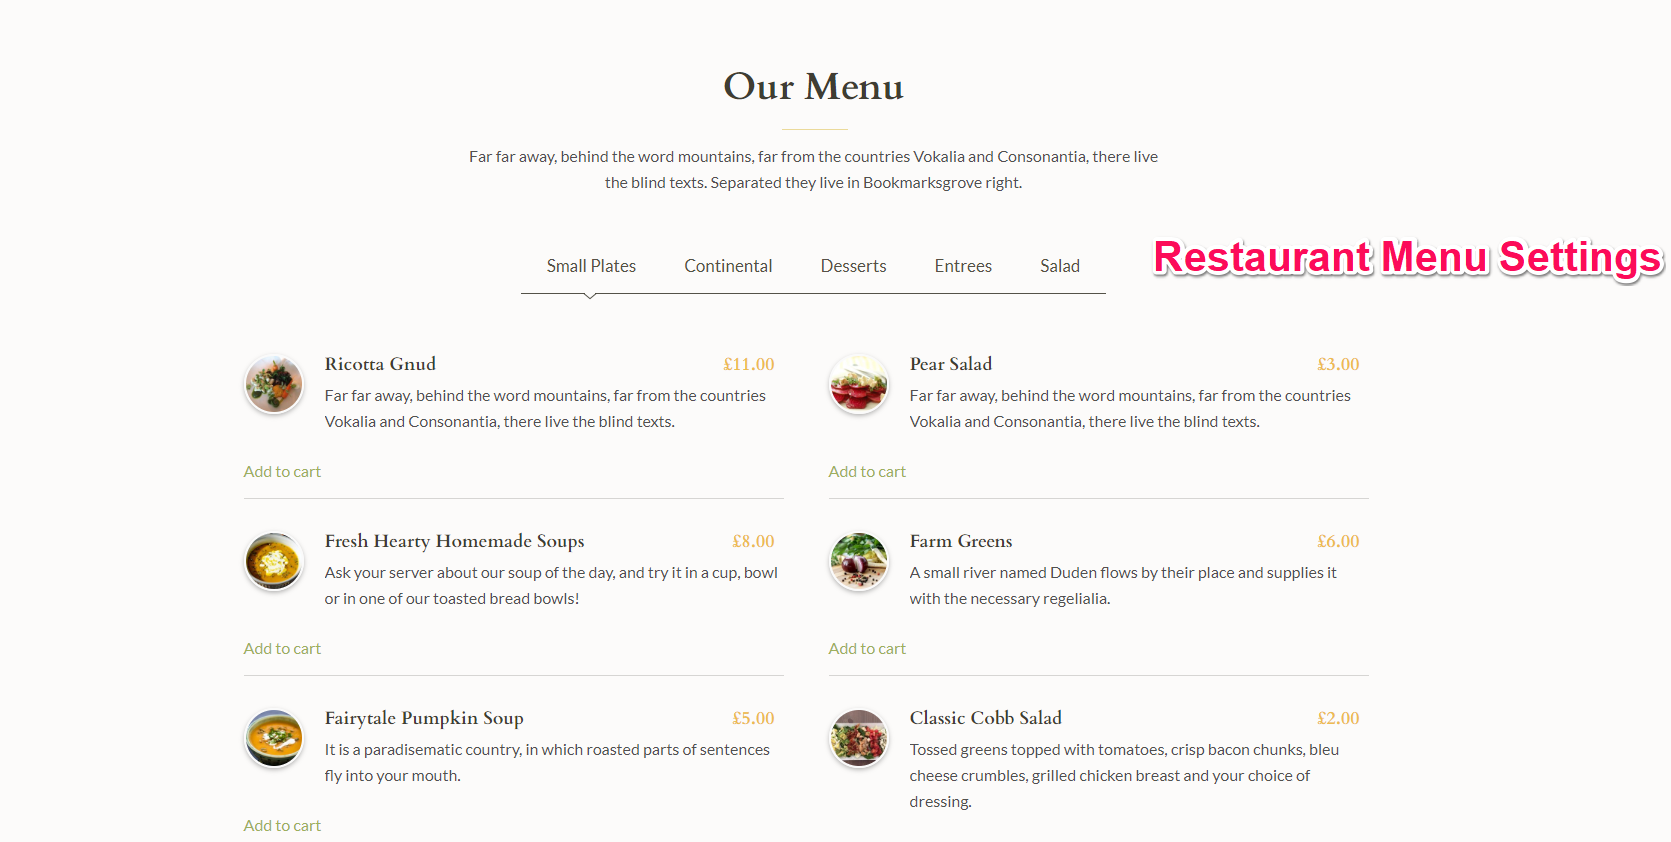
Setting Up the section
- Go to Appearance> Customize> Homepage Settings> Restaurant Menu Section
- Check Enable Restaurant Menu Section to display it in the Homepage.
- Choose the page for Restaurant Menu Section.
- The Page title of the selected page will appear as the section title.
- The content of the selected page will be displayed under About us Section.
- Choose Category One, Category Two, Category Three, etc.
- The selected Categories will appear under various Tabs under The Reservation Menu Section. The category name will appear as the tab title.
- The Products under the selected category of product will be displayed under the respective Category Tab
- Click Save and Publish.
