Please follow the below video or the following steps to configure the banner section on your website.
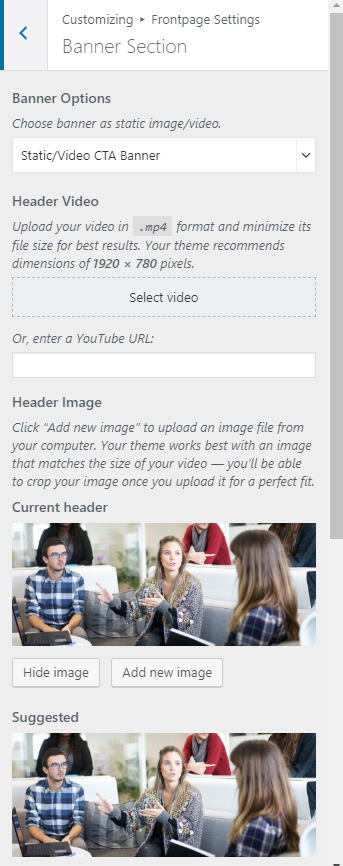
Using Static/Video Banner:
- Go to Appearance > Customize > Frontpage Settings> Banner Section
- Choose Static/Video Banner
- Click on Select Video to upload a video or enter your Youtube video’s youtube URL for Video Banner
- Click on Add New Image to add a new image to your static image banner
- Click Publish.
Note: Upload your video in .mp4 format and minimize its file size for best results. The recommended dimensions for the banner image is 1920 × 780 pixels.
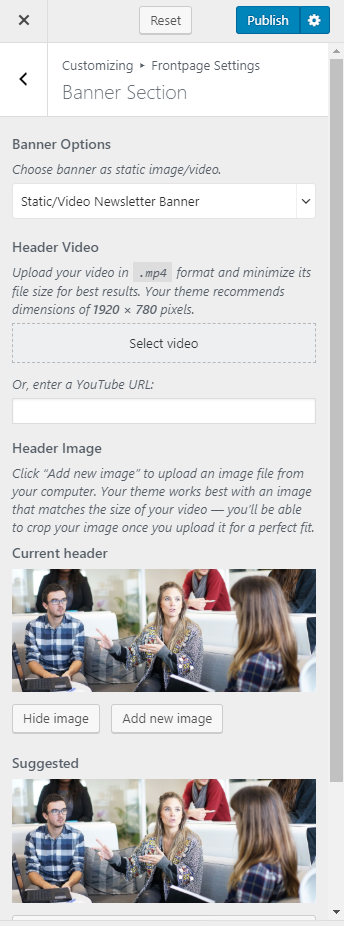
Using Static/Video Newsletter Banner:
- Go to Appearance > Customize > Frontpage Settings> Banner Section
- Choose Static/Video Newsletter Banner option from the drop-down
- Click on Select Video to upload a video or enter your Youtube video’s youtube URL for Video Banner
- Click on Add New Image to add a new image to your static image banner
- Enter Newsletter Short Code.
- Click Publish.
Banner as Slider:
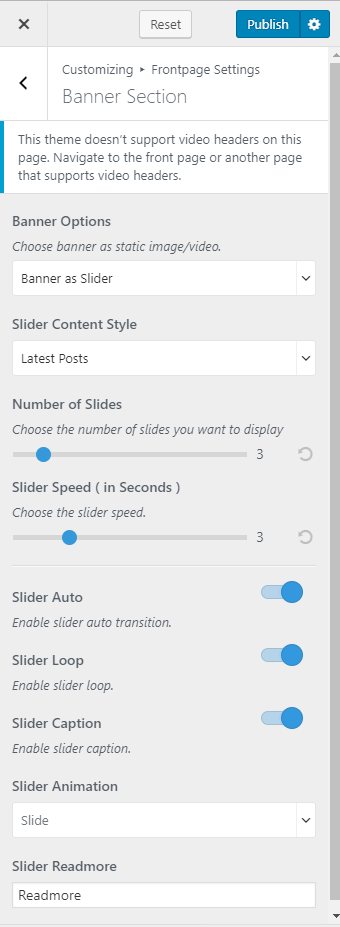
Banner as Slider using Latest posts
- Go to Appearance > Customize > Frontpage Settings> Banner Section
- Choose Slider as Banner in Banner Options.
- Choose Slider Content Type as Latest Posts
- Choose the number of Slides
- Enable Slider Auto to make slides transition automatically without clicking (Blue is enabled).
- Enable Slider Loop to allow the slider to repeat selected posts automatically.
- Enable Slider Caption to show the post title to appear on the slider post image.
- Select Slider Animation type
- Enter Slider Read more Text
- Click Publish.
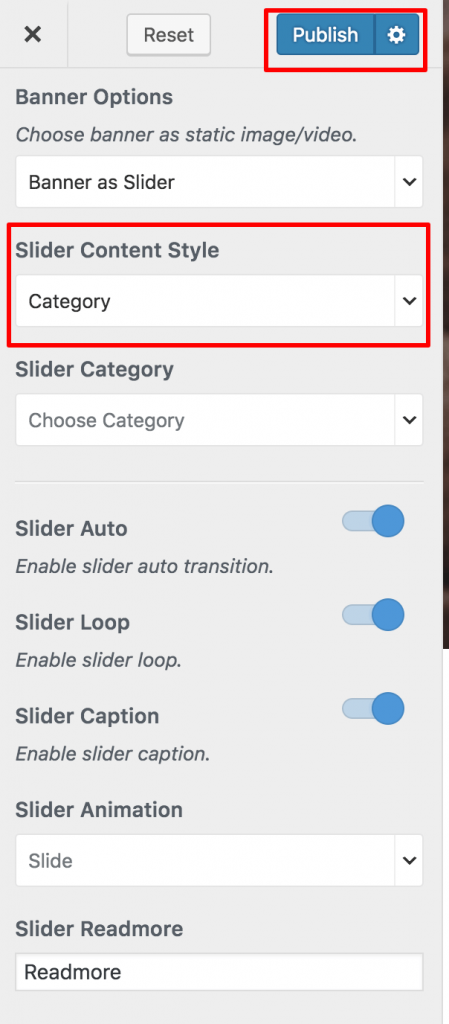
Slider using Category
- Go to Appearance > Customize > Frontpage Settings> Banner Section
- Choose Slider as Banner in Banner Options.
- Choose Slider Content Type as Category
- Choose a category
- Choose Posts in the chosen category will be displayed as slides. The featured image and the title of the posts in the selected category will appear on the slider.
- Enable Slider Auto to make slides transition automatically without clicking (Blue is enabled).
- Enable Slider Loop to allow the slider to repeat selected posts automatically.
- Select Slider Animation type
- Enter Slider Read more Text
- Click Publish.
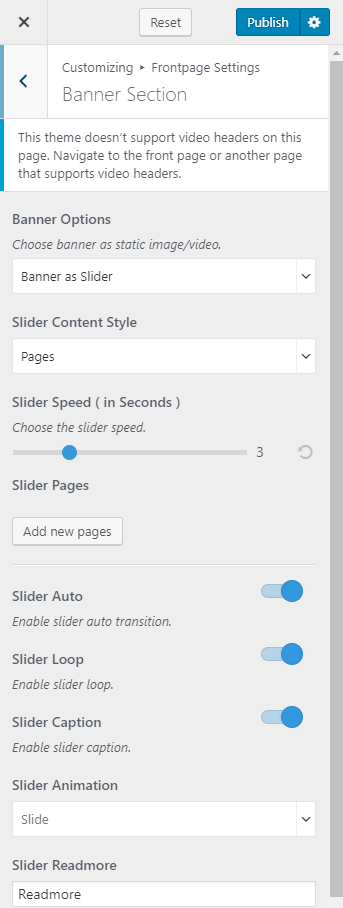
Banner as Slider using Page
- Go to Appearance > Customize > Frontpage Settings> Banner Section
- Choose Slider as Banner in Banner Options.
- Choose Slider Content Type as Page
- Click Add Page
- Choose Pages to be displayed as slides. You can choose up to ten posts/pages. The featured image and the title of the pages will appear on the slider. Click Add Page to add more pages to the slider.
- Enable Slider Auto to make slides transition automatically without clicking (Blue is enabled).
- Enable Slider Loop to allow the slider to repeat selected posts automatically.
- Select Slider Animation type
- Enter Slider Read more Text
- Click Publish.
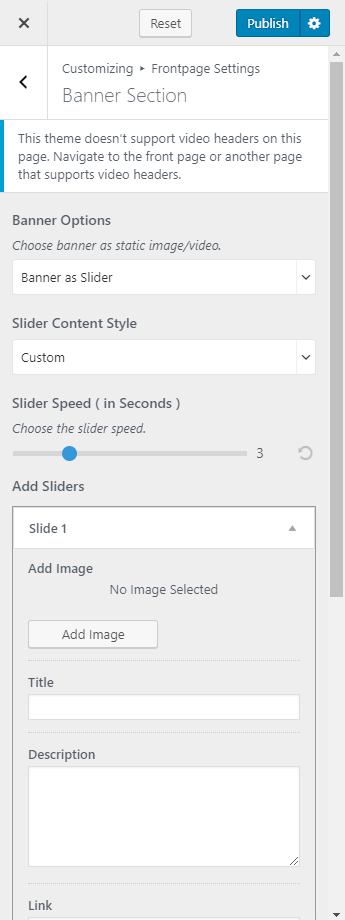
Slider using Custom
- Go to Appearance > Customize > Frontpage Settings> Banner Section
- Choose Slider as Banner in Banner Options.
- Choose Slider Content Type as Custom
- Click Add New Slide.
- Upload an Image and enter the title, description, and link. Click Add New Slide to add more slide.
- Enable Slider Auto to make slides transition automatically without clicking (Blue is enabled).
- Enable Slider Loop to allow the slider to repeat selected posts automatically.
- Select Slider Animation type
- Enter Slider Read more Text
- Click Publish