
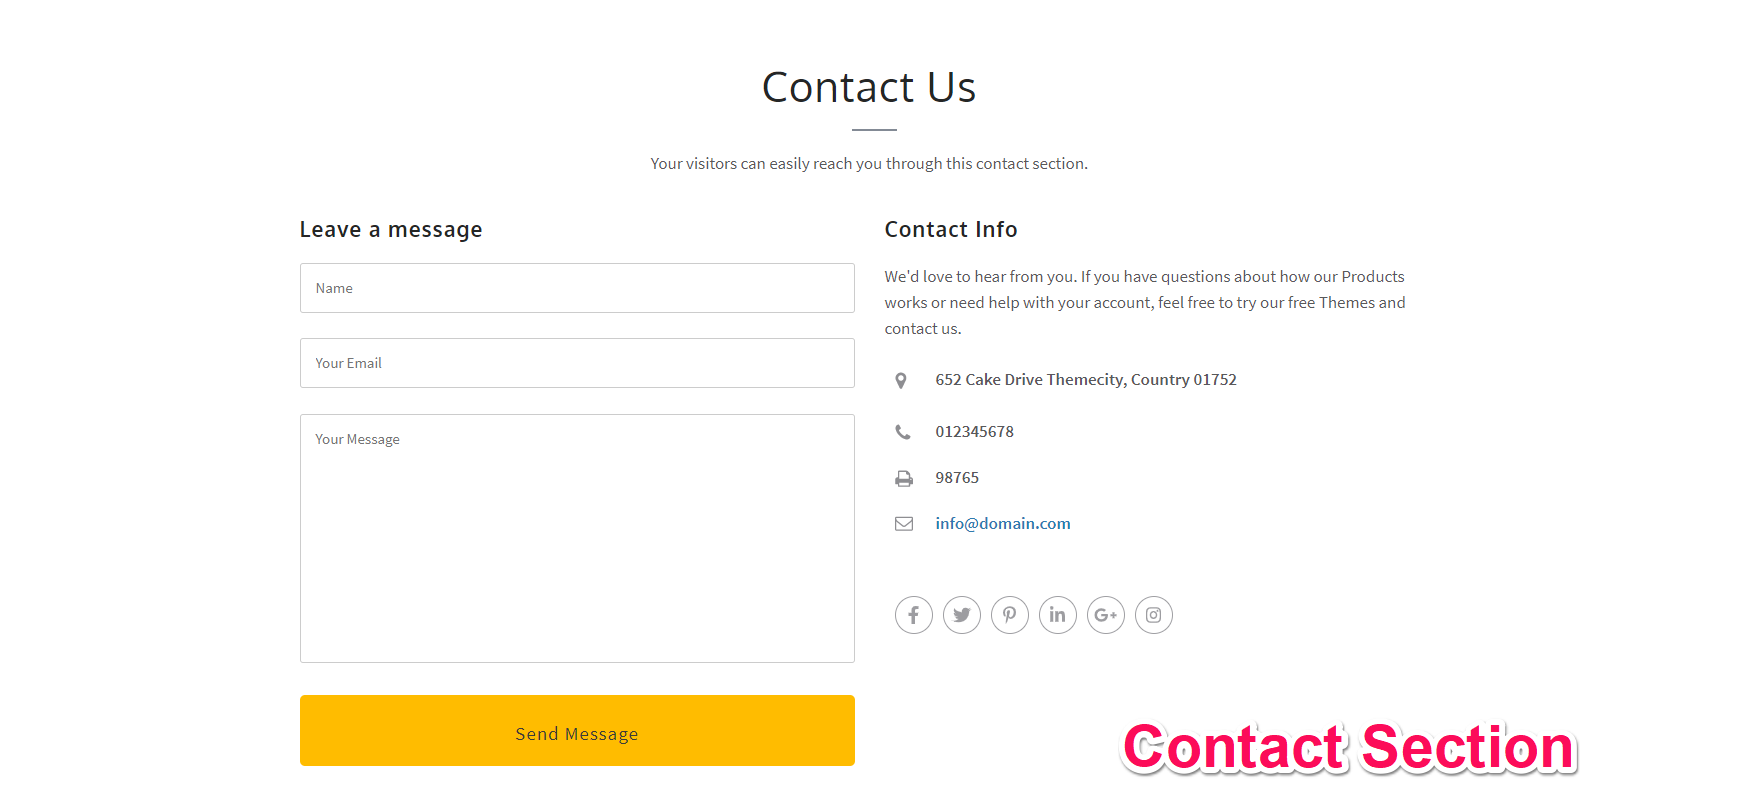
Note: In order to set up the Contact Section, you need to make a page for it. The page should have a title and content which will be displayed as the section title and content respectively.
Generating Shortcode for the Contact Form as in Demo :
For the Contact form to appear as in the demo, you must first install and activate the Contact Form Seven. To learn about how to install plugin read the Installing Plugin.
Go to Dashboard> Contact> Add New
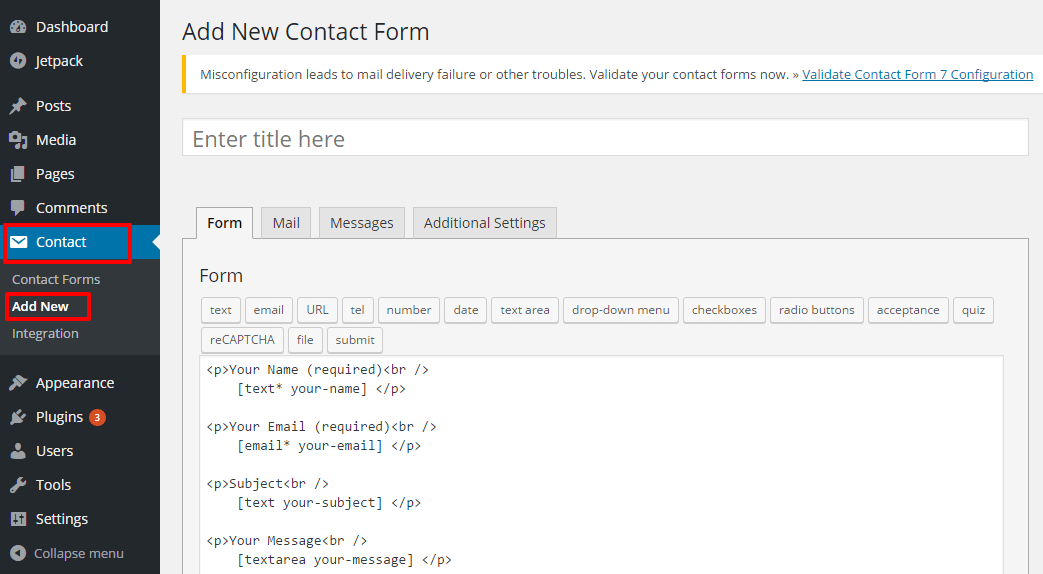
Delete the default content and paste the following codes :
<p>[text* your-name placeholder "Name"] </p>

<p>[email* your-email placeholder "Your Email"]</p>

<p>[textarea* your-message placeholder "Your Message"]</p>

<p>[submit "Send Message"]</p>
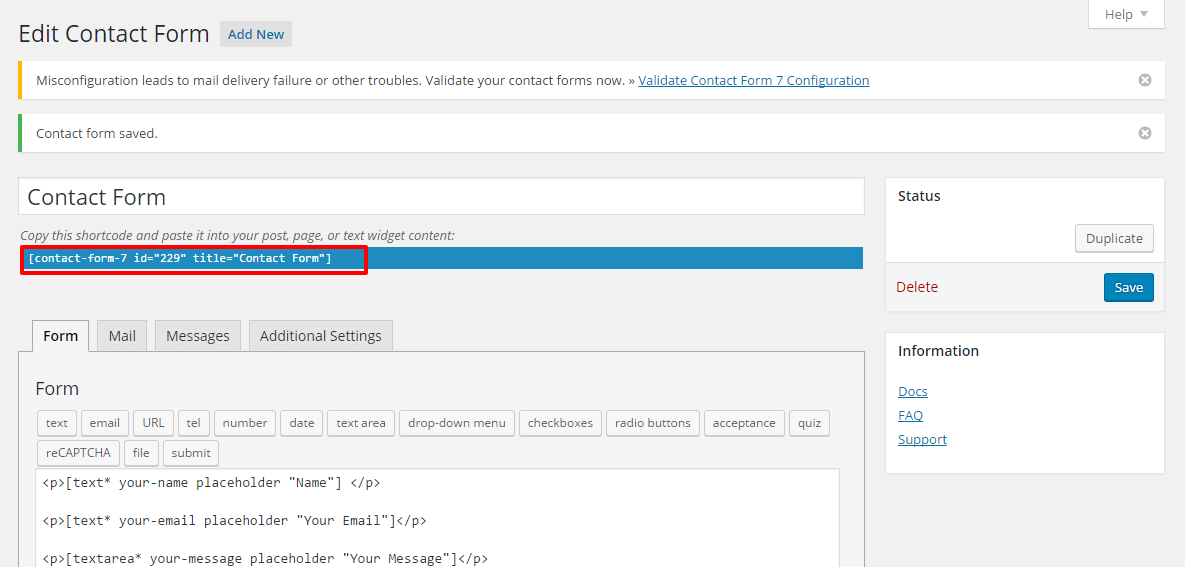
Click Save.

Copy the shortcode that appears below the Contact Form Name and paste it in the Contact Section Contact Form from Appearance>Customize>Homepage Settings>Contact Section.
Configure other settings according to Contact Form 7 Documentation.
Click Save & Publish.
Note: The above instructions just deals with the design and appearance of the contact form on the theme. You still need to configure your settings following Contact Form 7 Documentation.
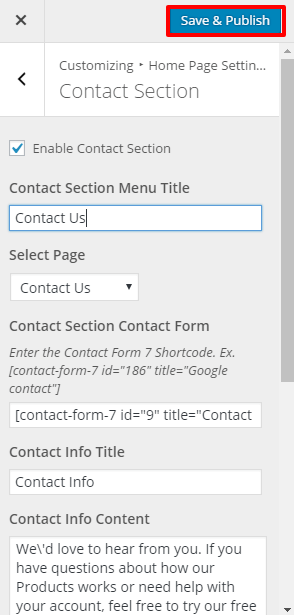
Now, follow the below steps to configure Contact Section
- Go to Appearance >Customize>HomePage Setting s> Contact Section
- Check Enable Contact Section.
- Select a Page for Contact Section. The title and the content of the selected page will appear as a description of the section on the Page.
- Enter the Contact Info Title, Contact Info Content, Contact Address, Contact phone, Contact Fax, and Contact Email.
- Enter the Short Code for the contact form on the Contact Section Contact Form.
- Click Save &Publish.