

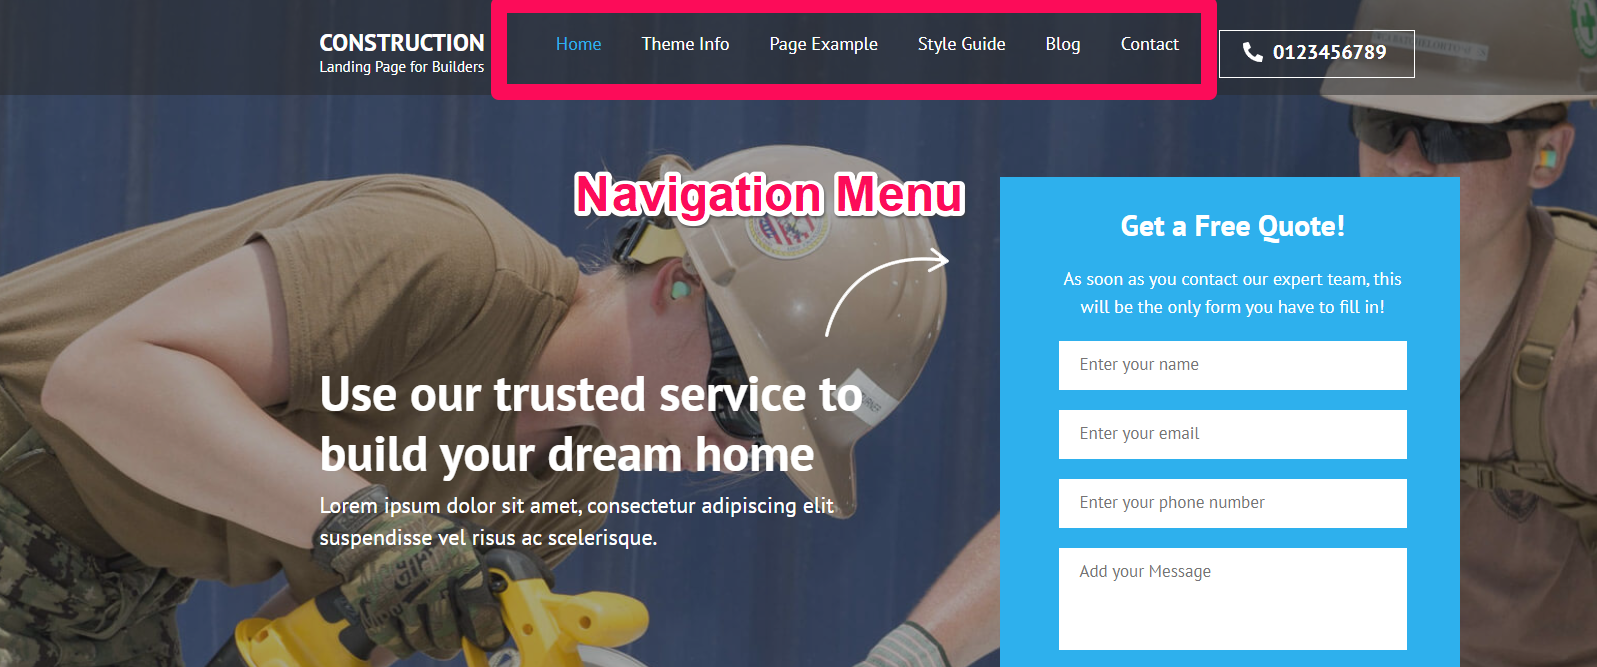
By default, all your primary pages will be displayed in the menu. If you want to create a Custom Menu, you can do it from Customizer or from Dashboard. This theme has one menu which displays in the header section. If you need more than one menu, you can add them in the sidebar using “Custom Menu” widget.
Create a New Menu from Customizer
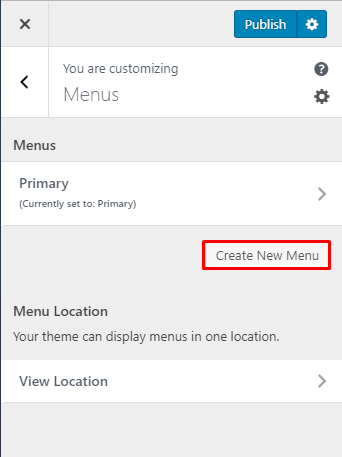
- Go to Appearance > Customize> Menus in the WordPress Dashboard.
- Click on Create New menu button.
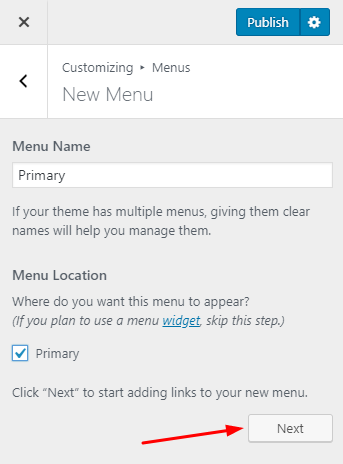
- Give a name to your menu and select whether you want to display the menu on Primary location.
- Click Next.
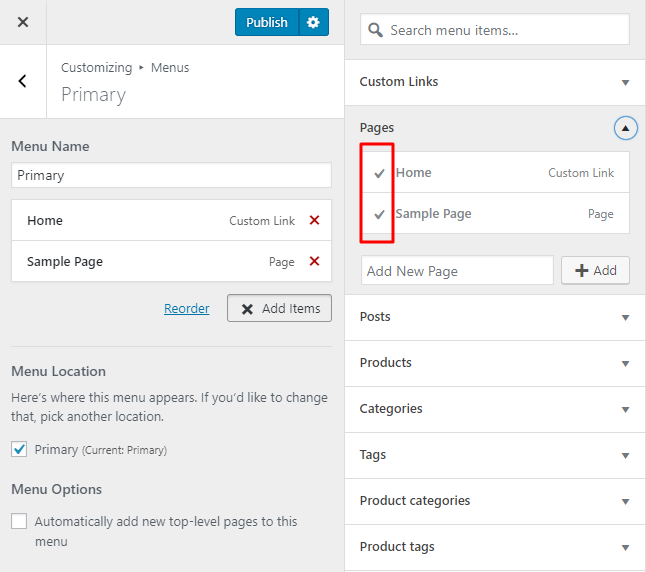
- Click “Add Items” to add items (pages, posts, categories, custom links…) to the Menu
- Click “+” icon on the items list to add the item to the menu.
- Drag and Drop the added items to rearrange them.
- Click Publish.
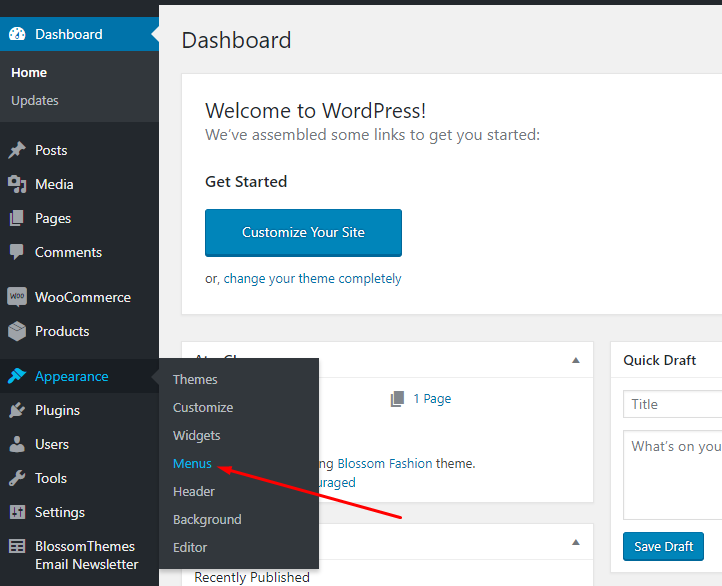
Create Menu from Dashboard
- Go to Appearance > Menus in the WordPress Dashboard.
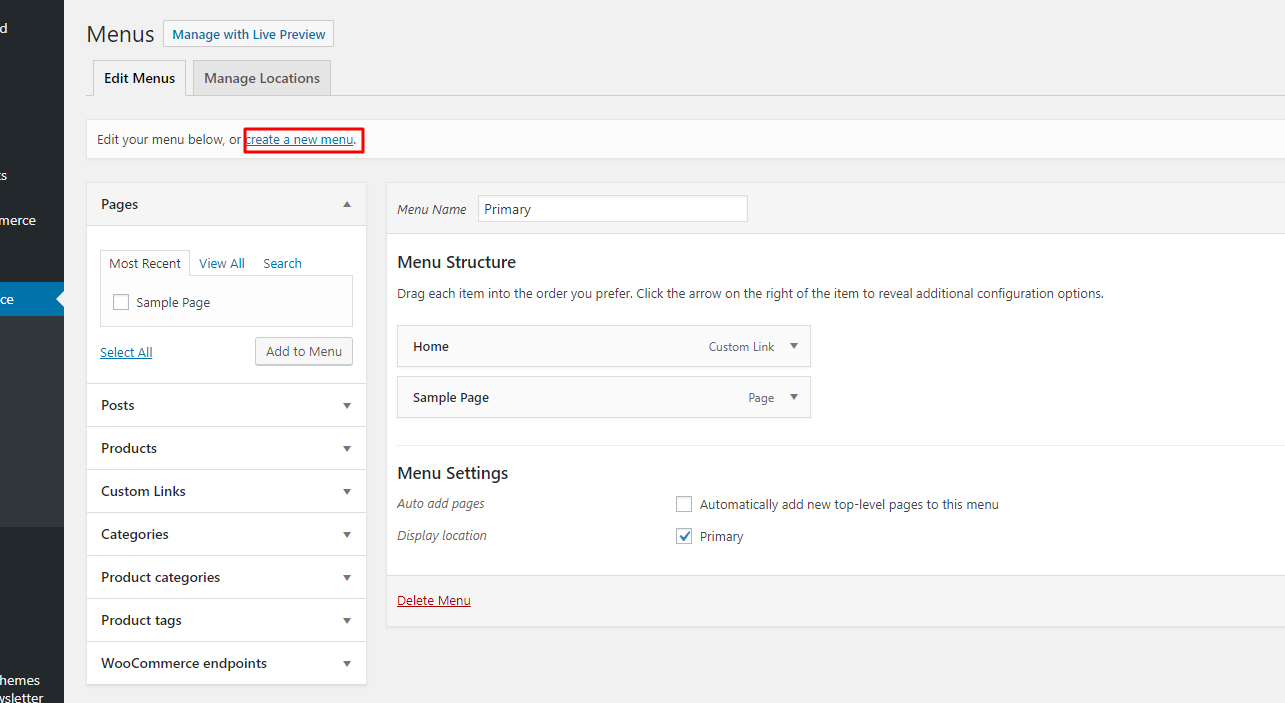
- Click on create a new menu.
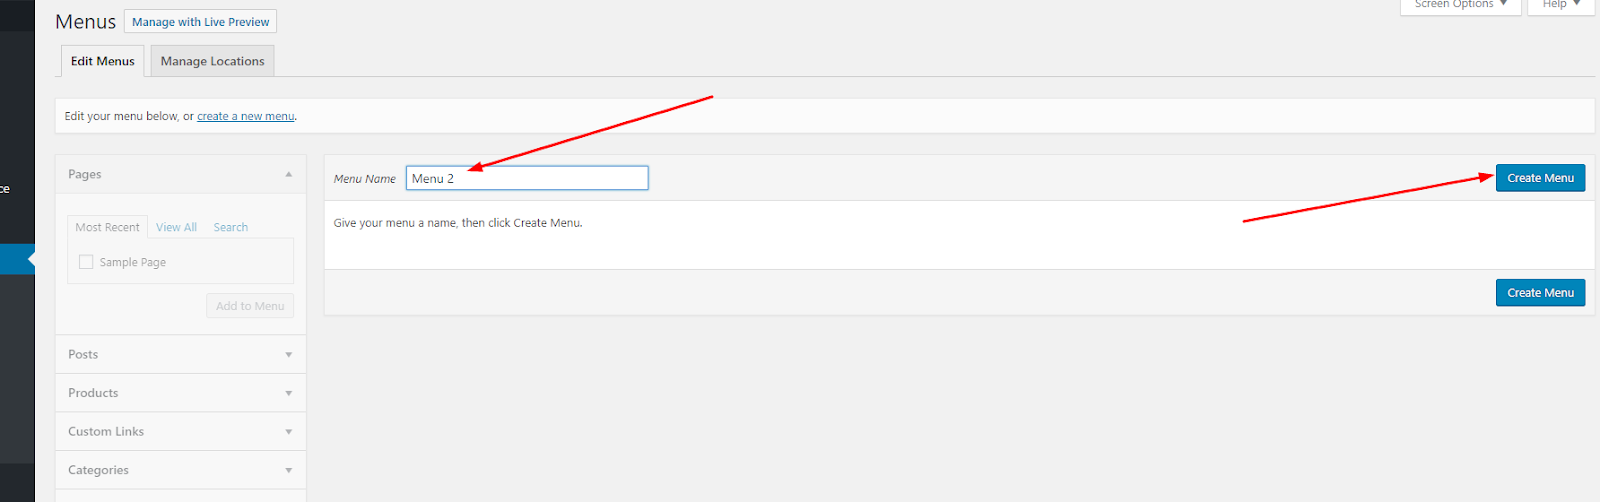
- Give a name to your menu in Menu Name and click on Create Menu button.
- Select the items from Pages, Posts, Custom Links, or Categories and click “Add to Menu”.
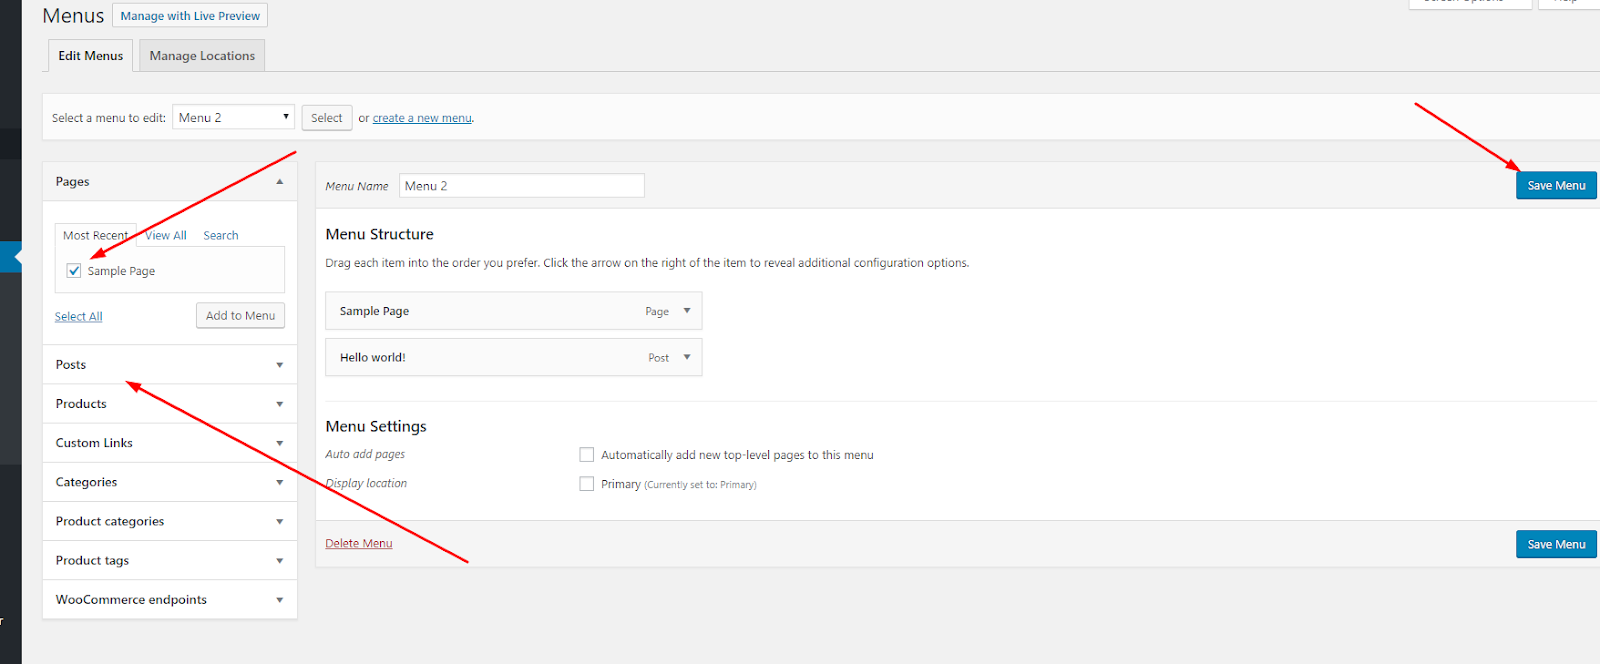
- Drag and Drop the added items to rearrange them.
- Check the Menu location to Primary.
- Click Save Menu.